The installation involves the following areas.
0. Add chrome extension 1. Set URL to send caption and receive analysis 2. Specify details 3. Login to start recording 4. Analytics server will show details of the interaction (when you access to the server URL) 5. other configuration options are available in the help section. 6-1. Configure Server URL (here) 6-2. Configure session name (here) 6-3. Arbitrary option settings (here) 6-4. Element option settings (here) 0. Add chrome extension 0-1. Visit chrome web store at (https://chrome.google.com/webstore/search/live%20caption%20analytics) 0-2. Choose "Live Caption Analytics" from akinori.oyama to add to your Chrome browser. 0-3. Set "Site access" configuration to "On click" so that the extension will be activated only when you click the extension button 英, next to your address area.1-1. start Google Meet meeting
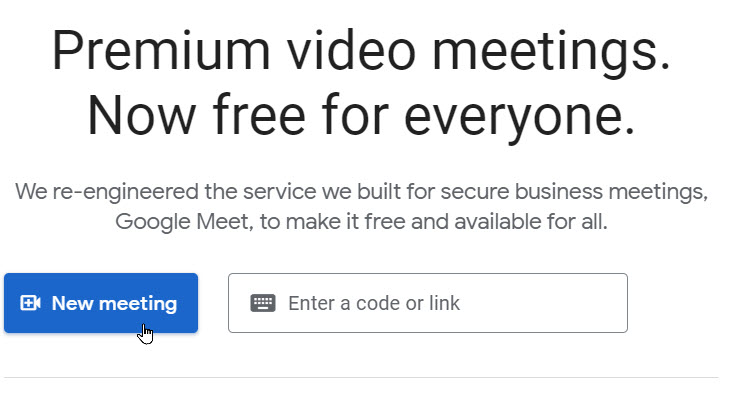
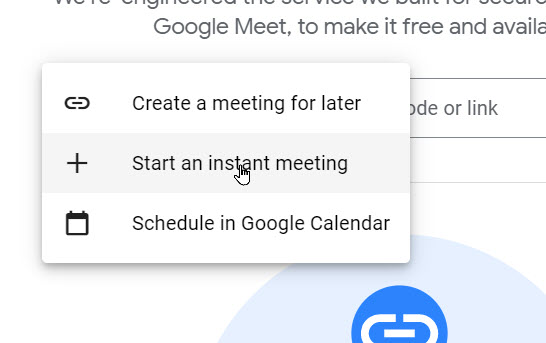
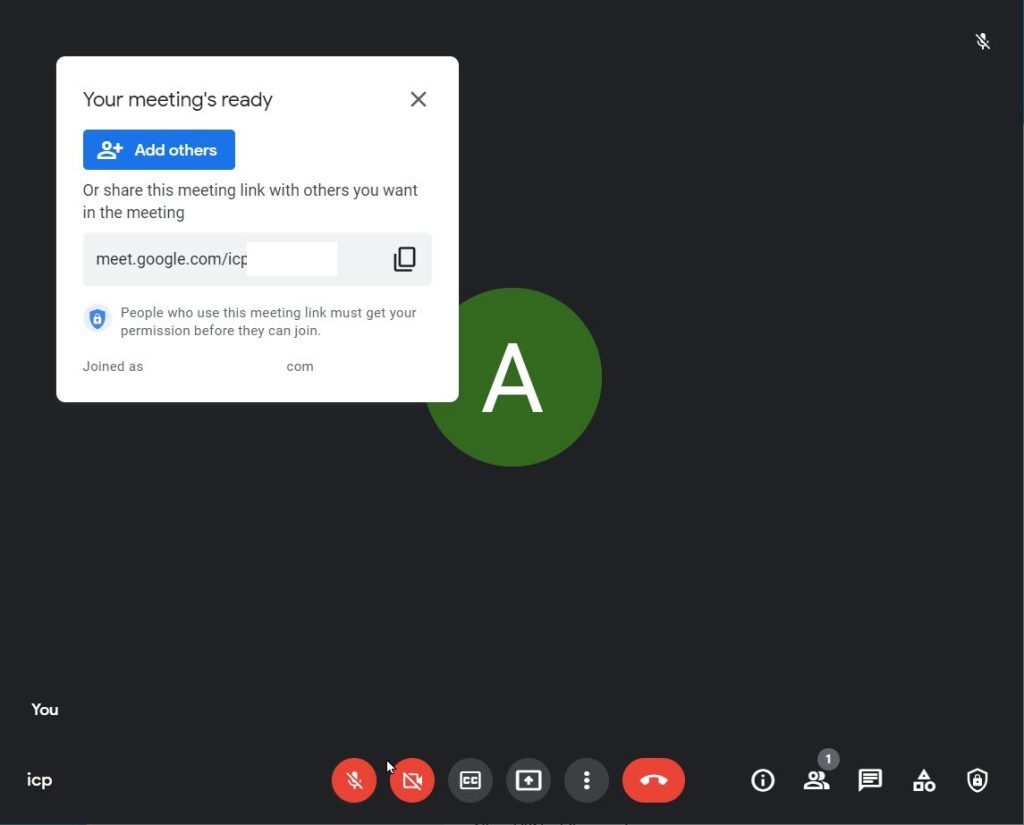
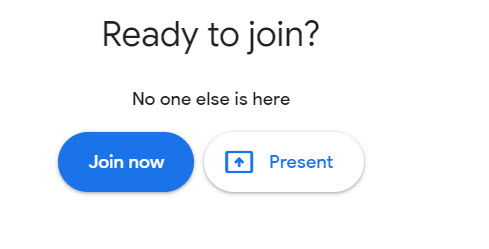
1-2. start Extension
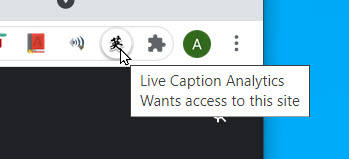
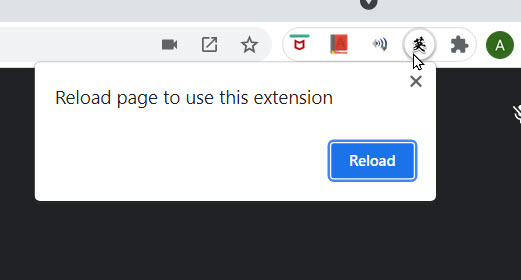
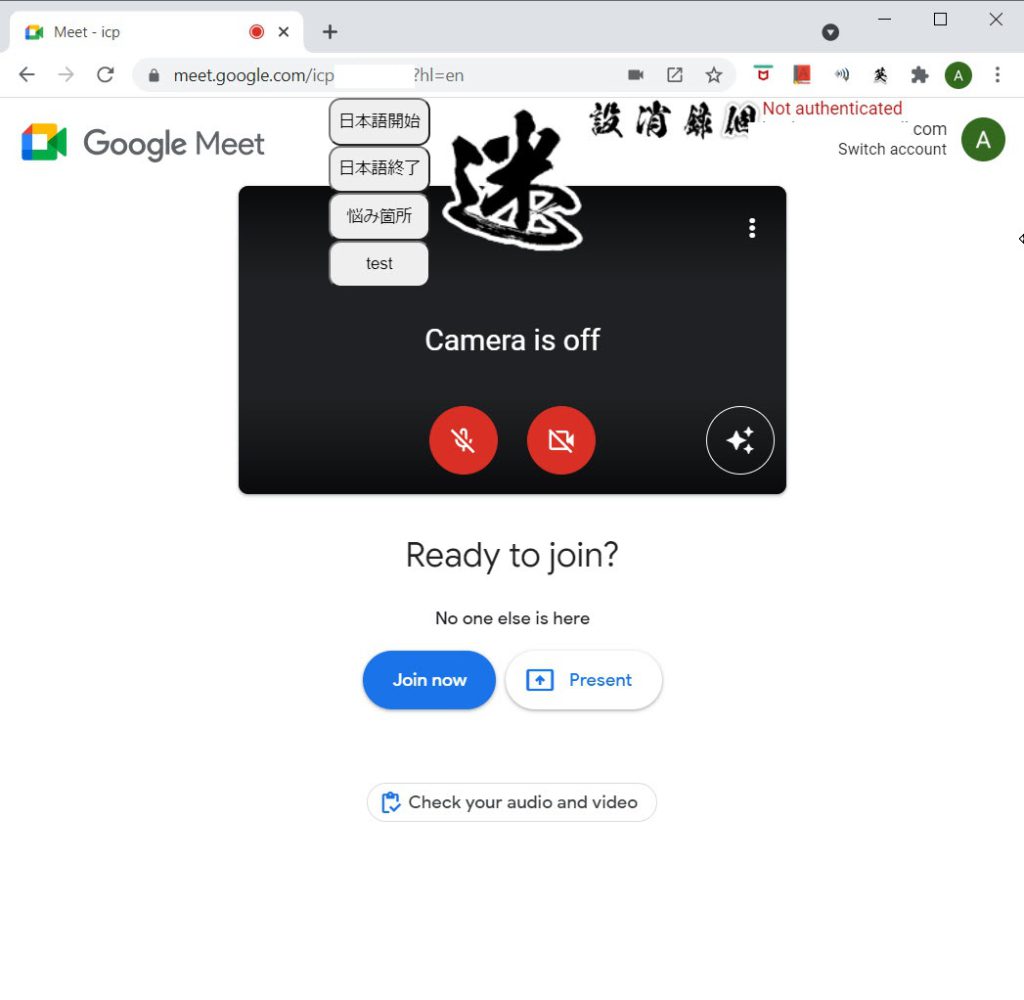
2. Set URL to send caption and receive analysis
Set URL provided by the service provider
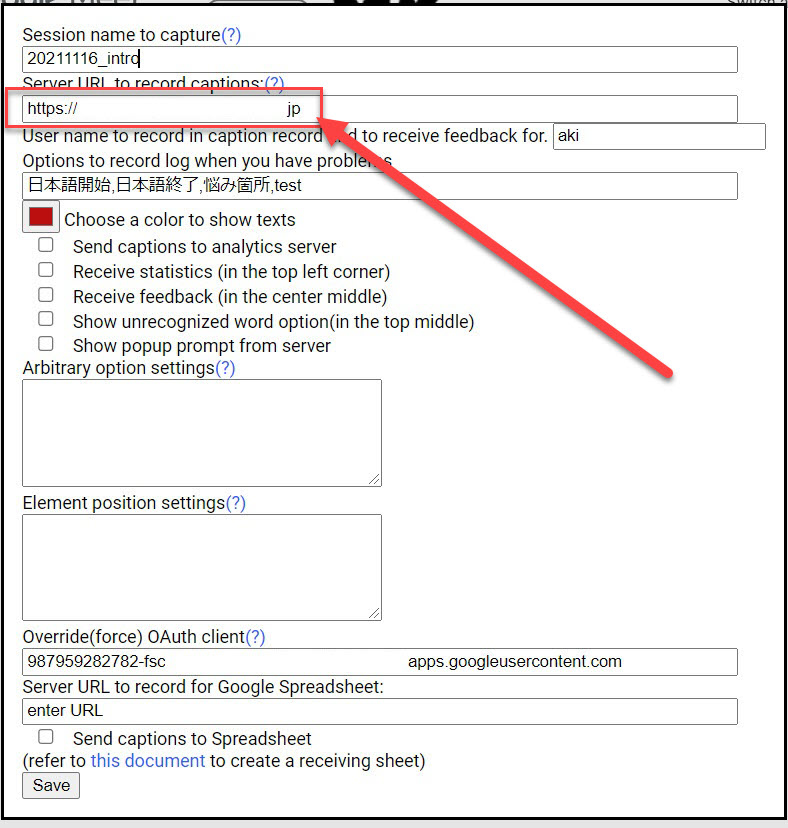
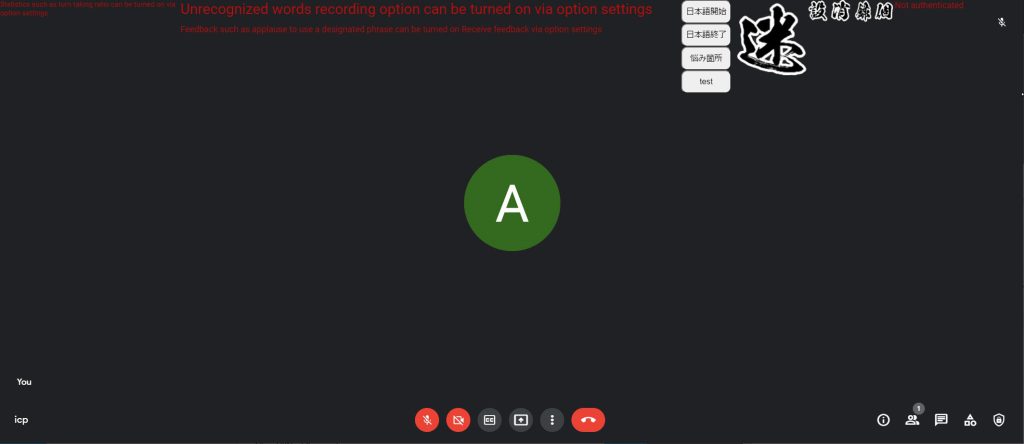
3. Specify details
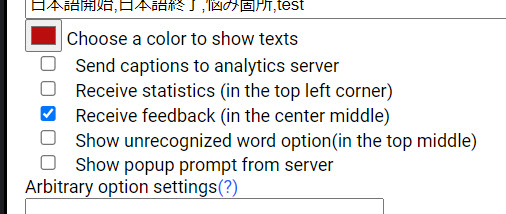
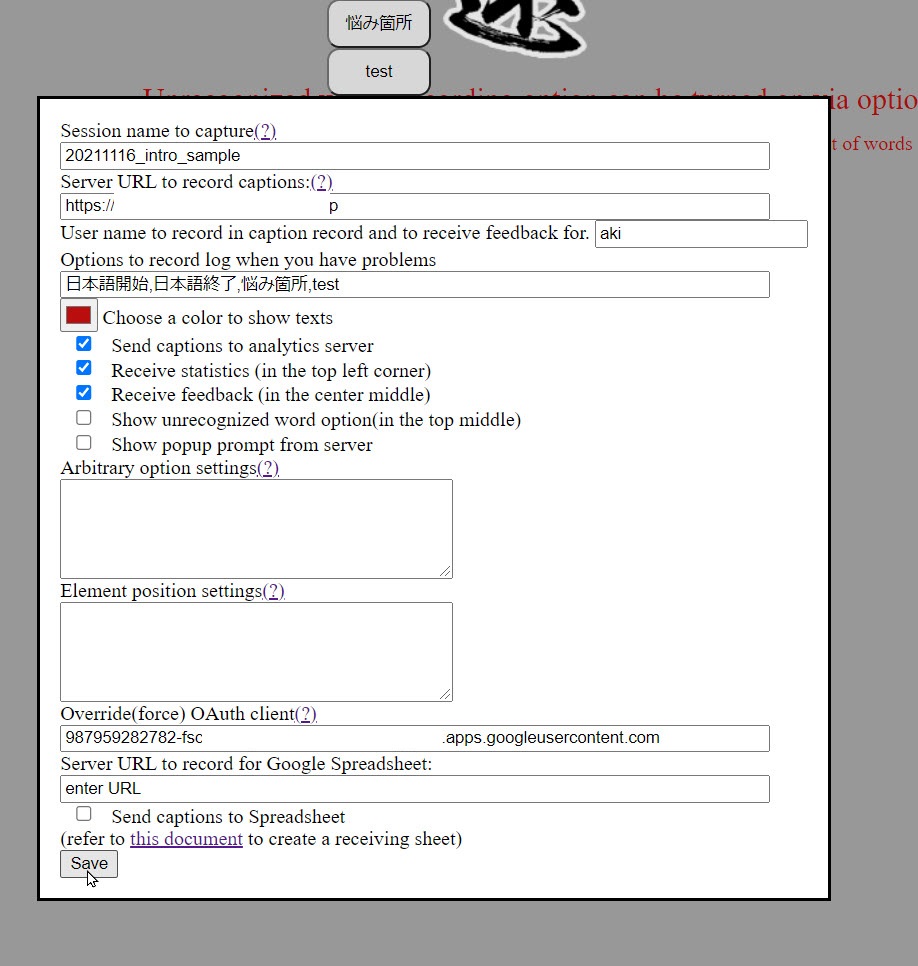
3-1. Turn on "Receive feedback"
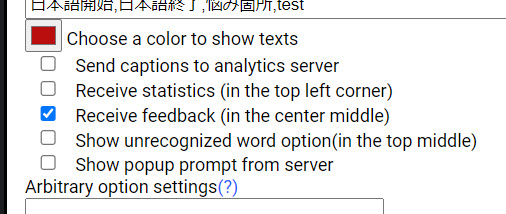
click "your analytics server (click here)" to access the destination and allow your machine to access the analytics server.

If your sever is not up and running, screen will inform you of the situation.
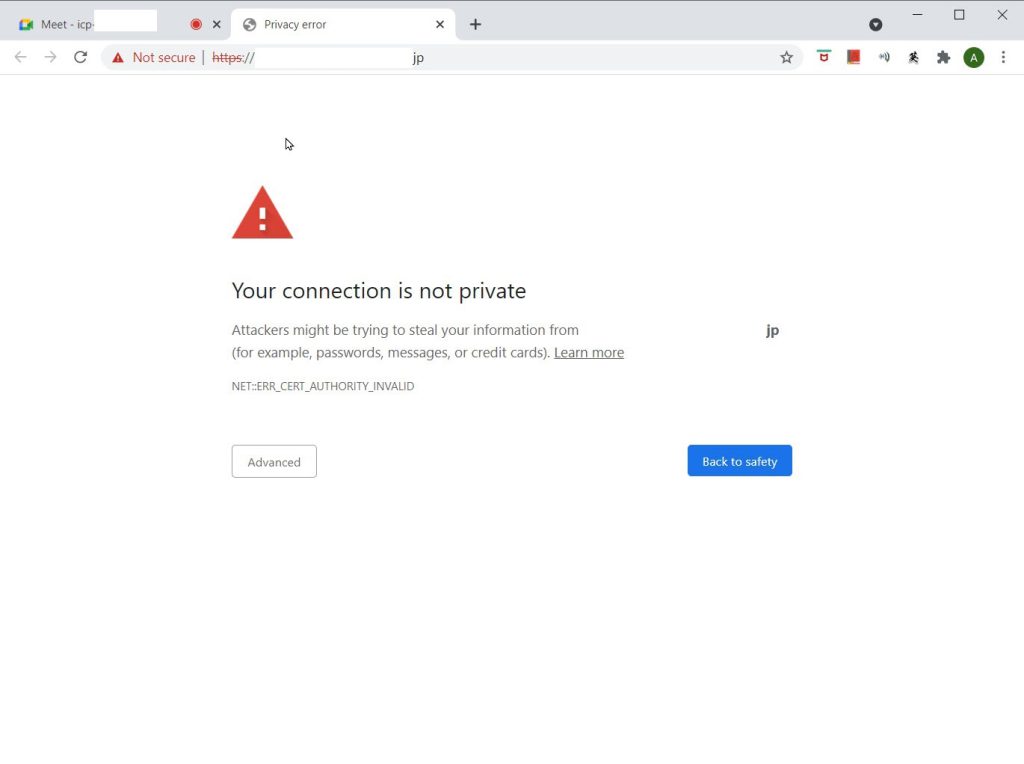
When the server is available, authentication warning will be shown. Click "Advanced"
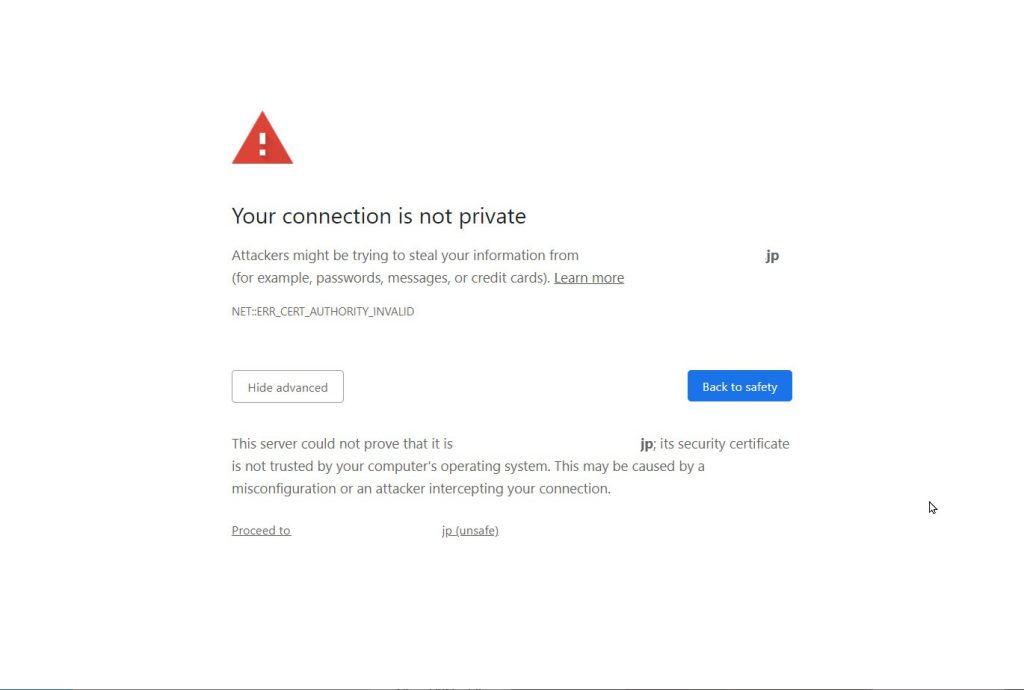
Upon "Advanced" click, another block will appear. Click "Proceed to ..." to allow the machine to access the server. The notification shows that secured connection is not from the well-known organization.
3-2. (optional) alllow access to the server provided by your trusted partner
You can choose to allow to access the server in two ways, 1) to allow temporarily and 2) allow the access permanently. If you allow the permanent access, follow the steps described below.
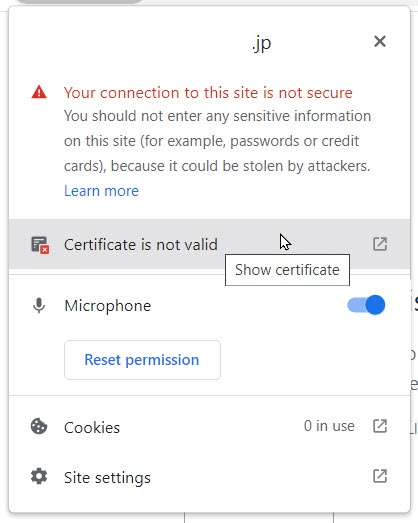
Click the text, "Not secure."

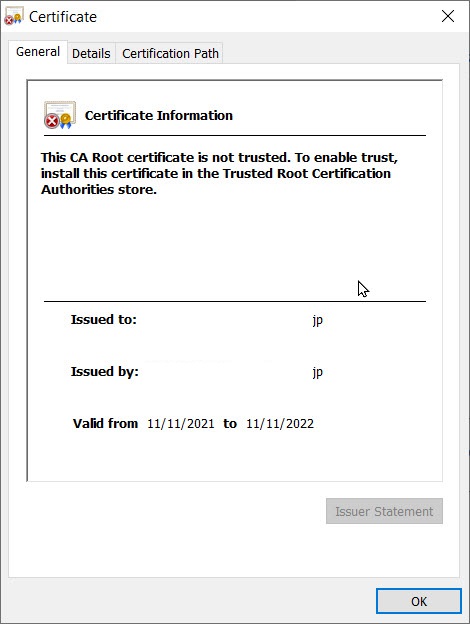
Show certificate by clicking "Certificate is not valid."
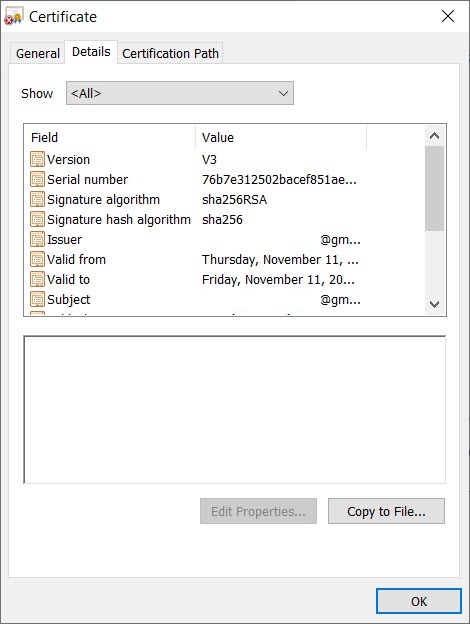
Mac Chromeでプライバシーブロックされ「詳細設定」からもページが表示できない
https://qiita.com/miriwo/items/3a19b92dd0c77e6d2378
4. Login to start recording
4-1. Turn on notification from analytics server
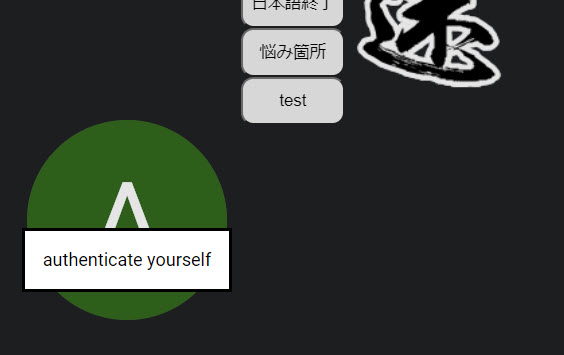
4-2. Login to start recording
Login by pressing 個 button.

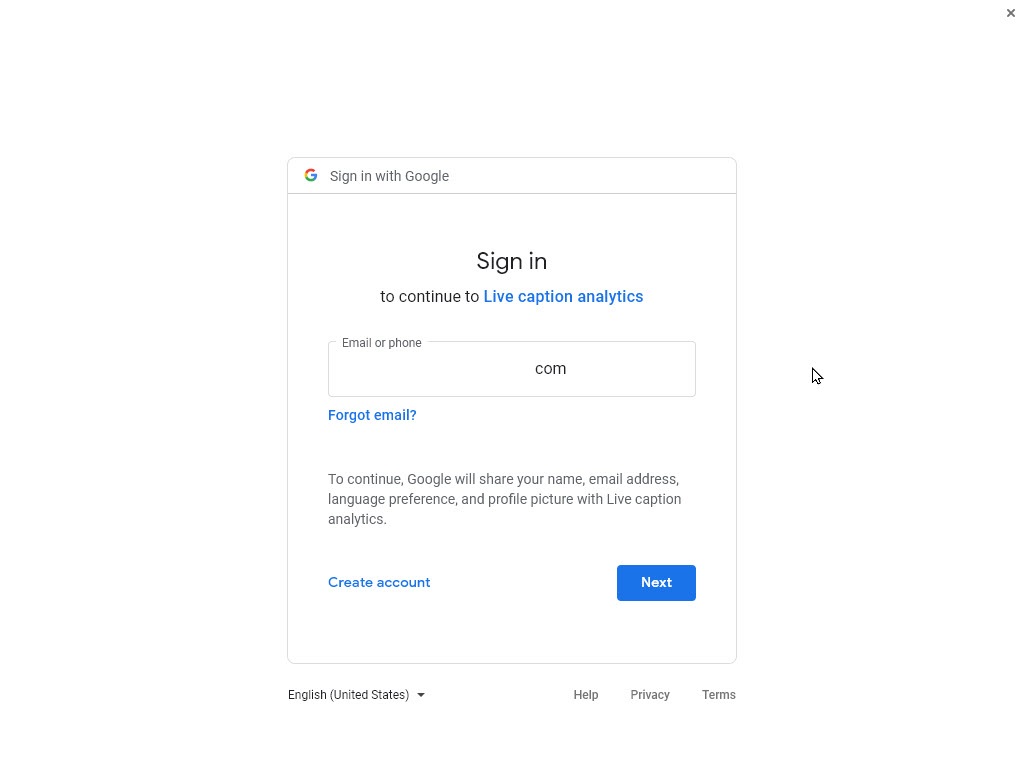
Authenticate through Google
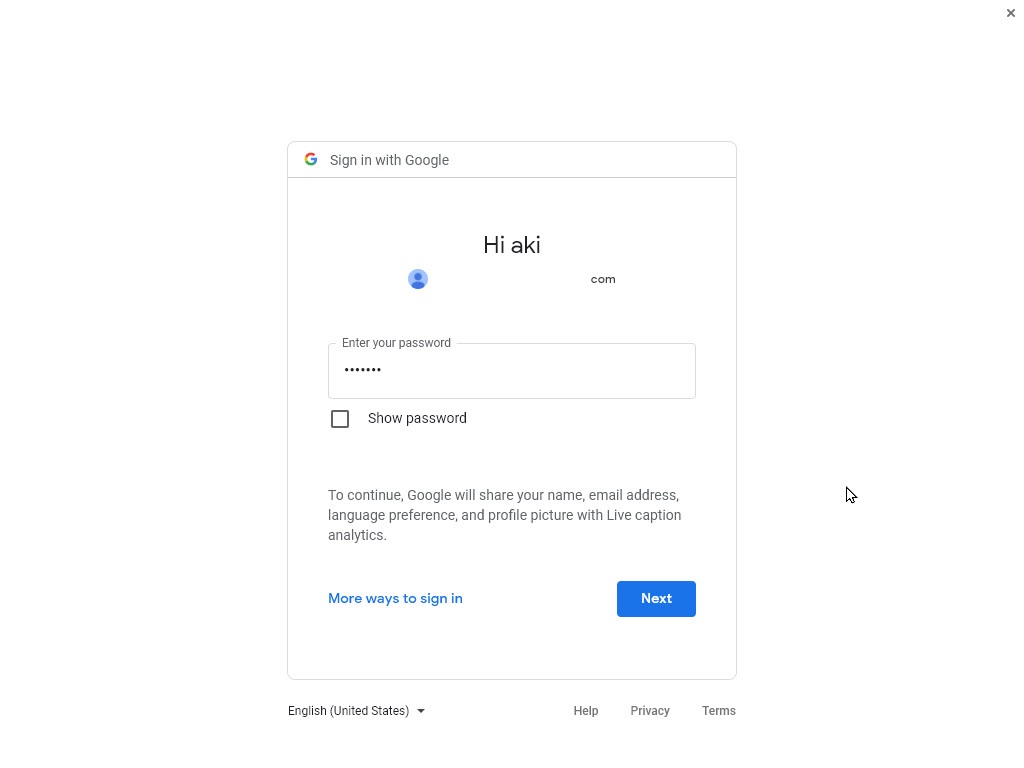
Once you authenticate yourself, the validity of the authentication is shown in MM:SS format.
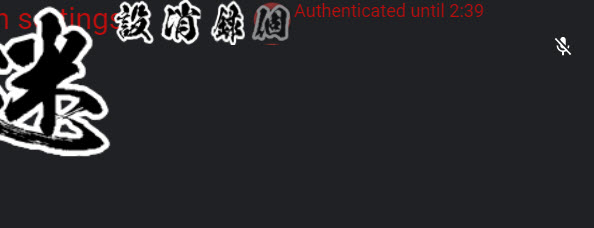
The extension will start showing the information about the session.

4-3. Start captioning
Turn on the checkbox, "Send captions to analytics server" and Click 録 button
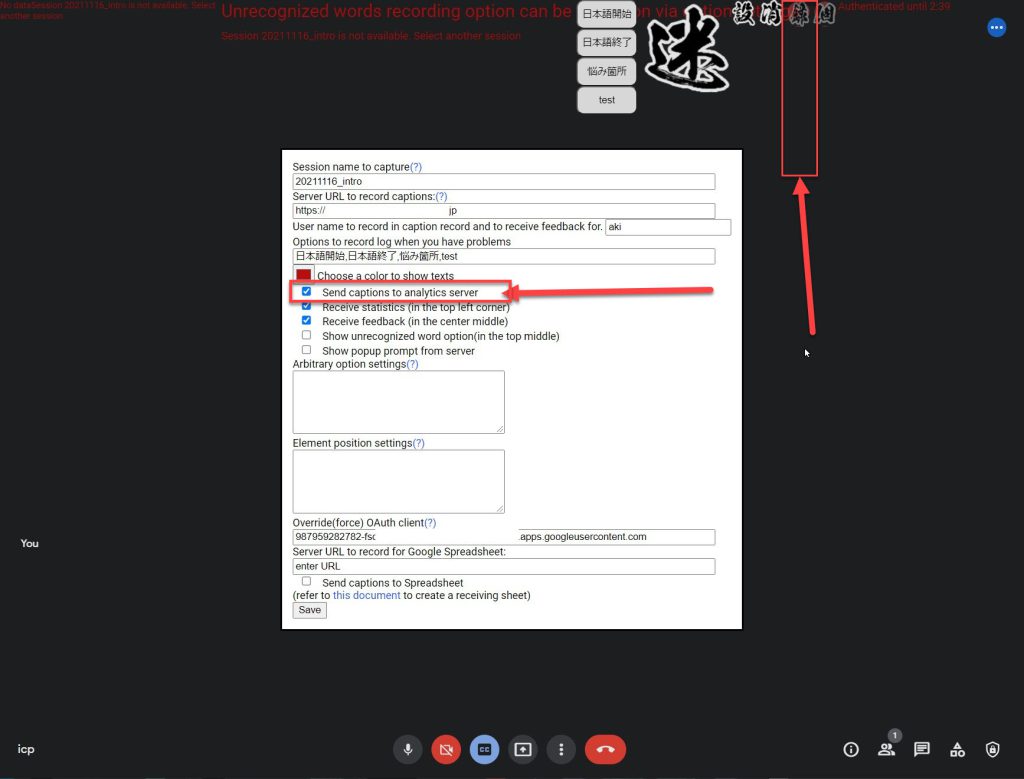
When you speak, your utterance caption is sent to the server and analytics will show the calculated results. The default setting will start showing different sets of results one by one at a certain interval.
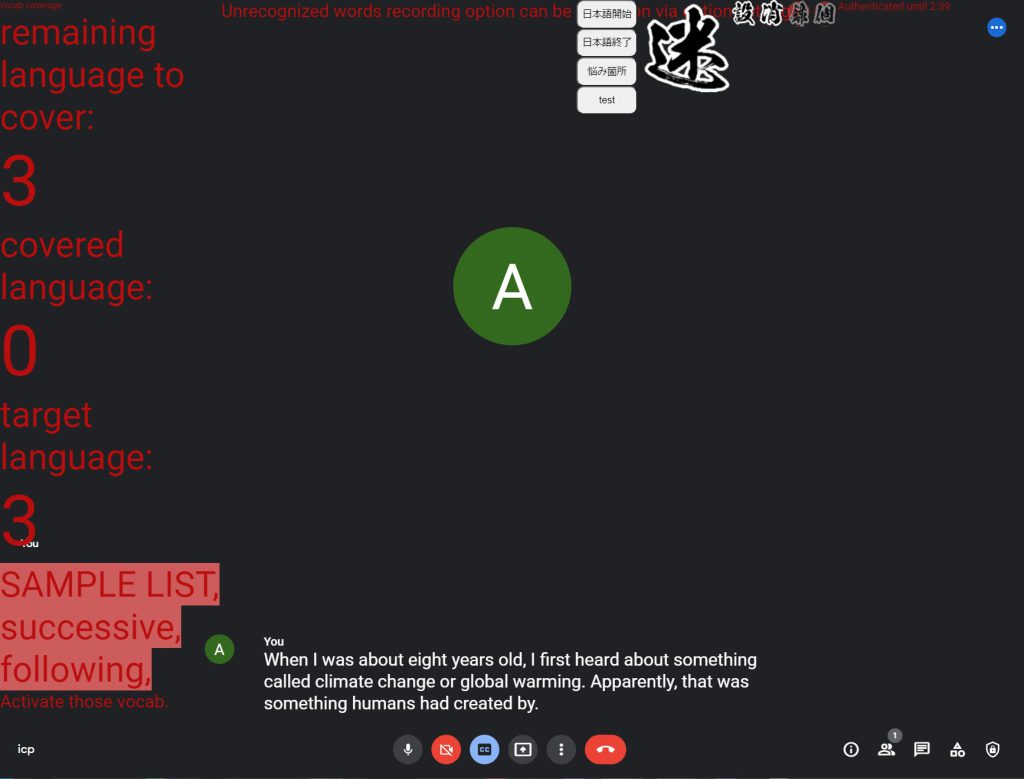
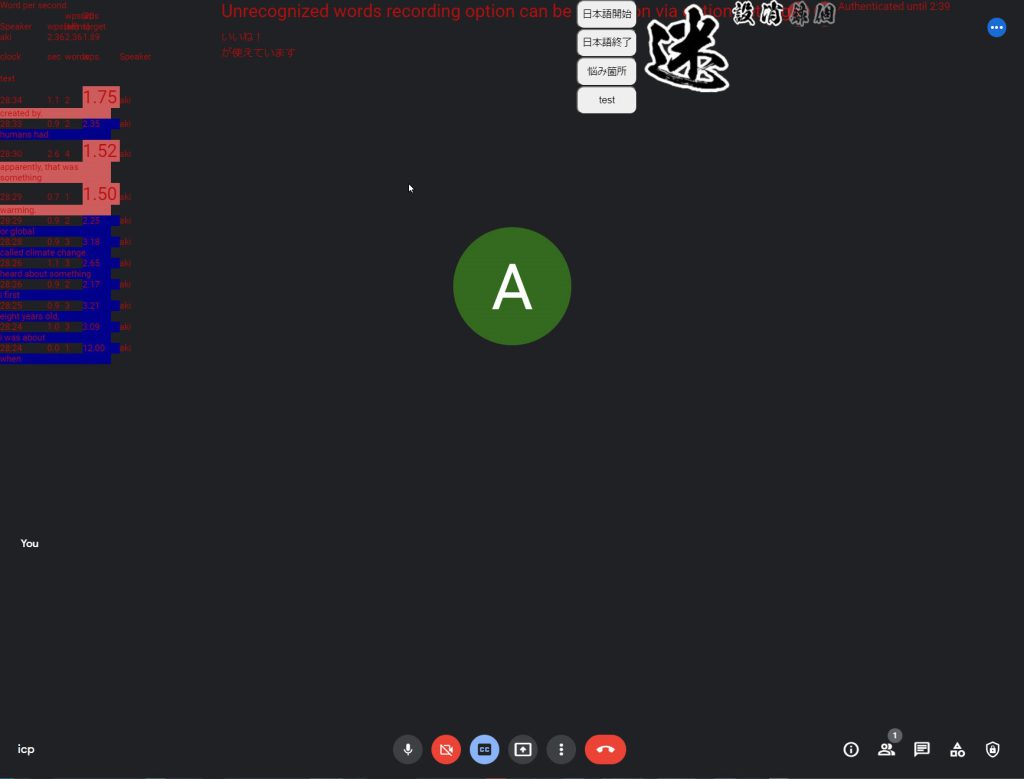
5. Analytics server will show details of the interaction (when you access to the server URL)
5-1. Server will show available functions
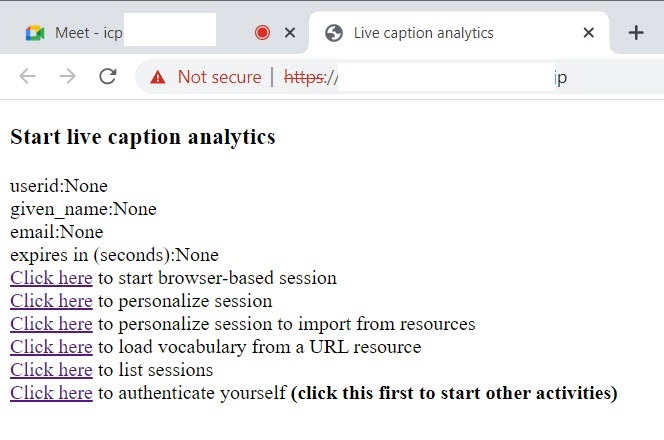
Click "to authenticate yourself".

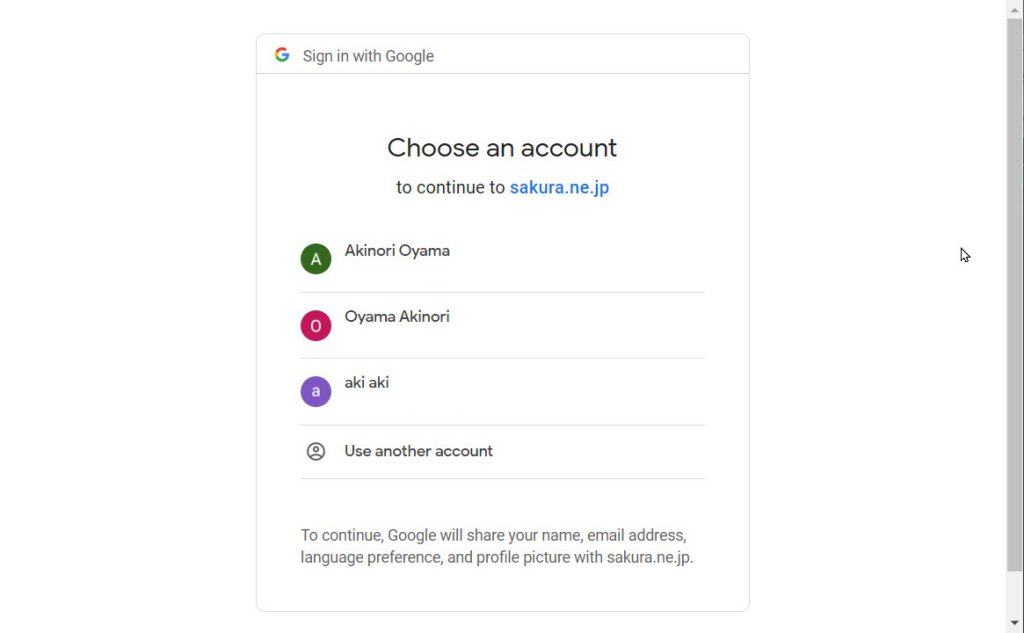
Your Google account ID and given name are shown in the home screen.
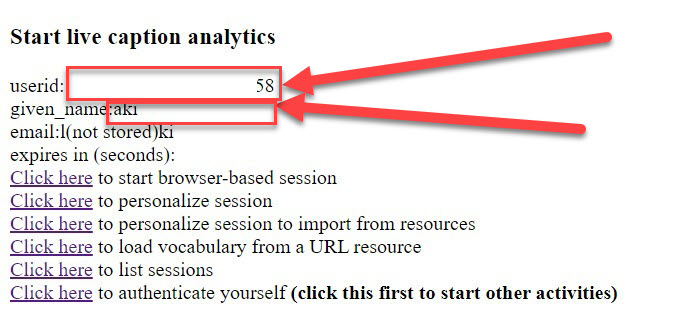
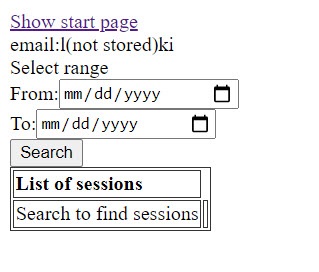
Function: List sessions

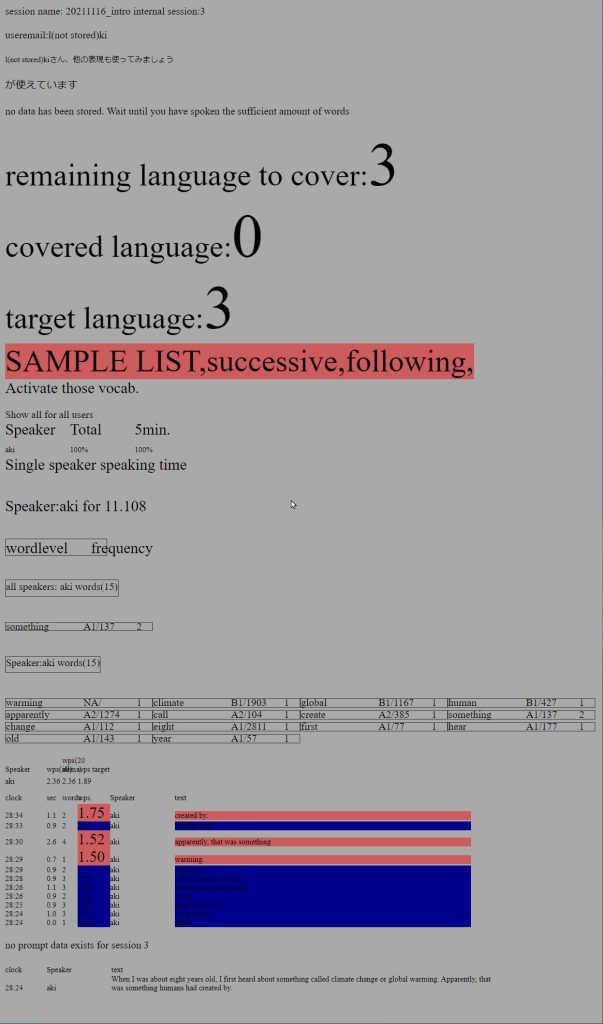
"full info" will show all the analytics results.
"runtime captioning" will show real-time captions with interaction information logged from the screen.

When you click a button to log, it will be recorded under the label it is shown in the options.
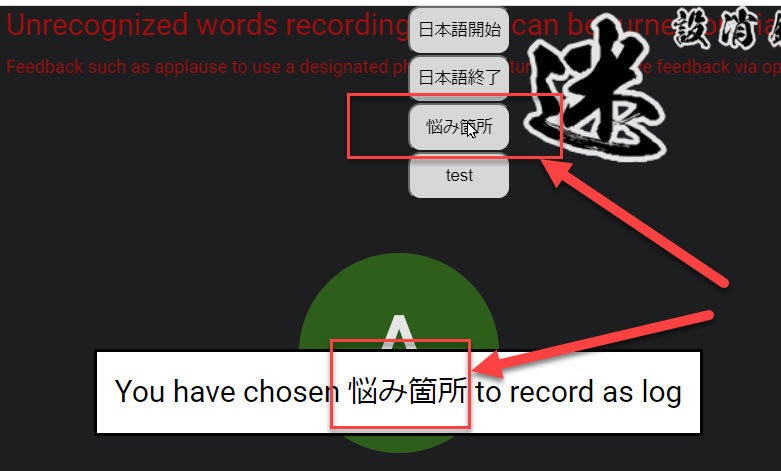
The chosen label is recorded and shown in the "runtime captioning"

Click "to personalize session to import from resources"
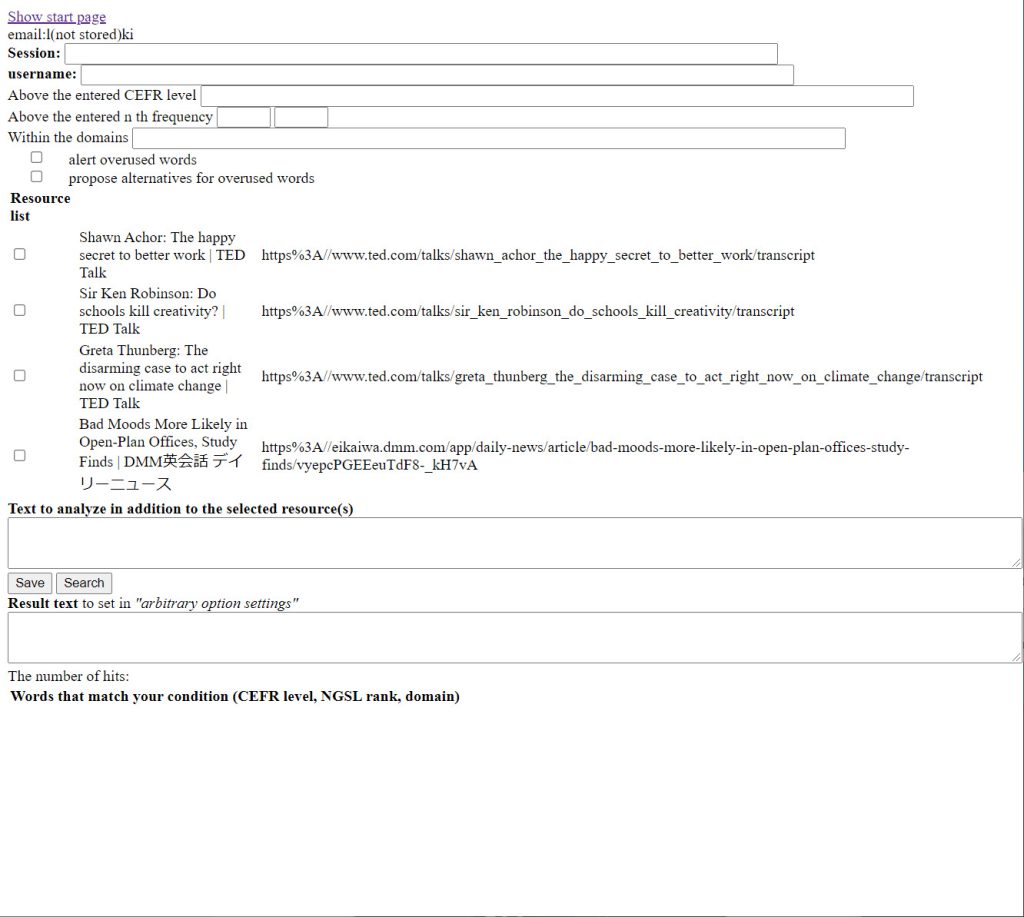
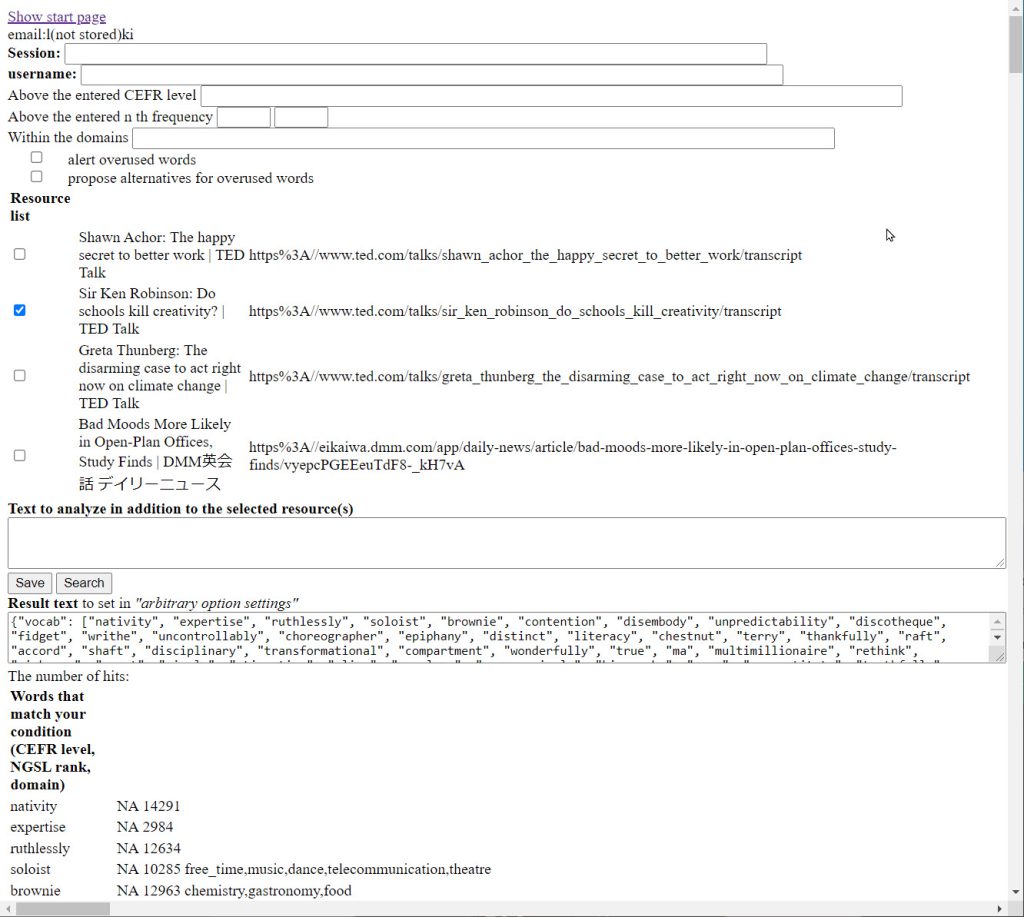
You can specify the level of frequency to filter to show and record. When you save the list of vocabulary, the set of words is set as target vocabulary in the screen interaction.
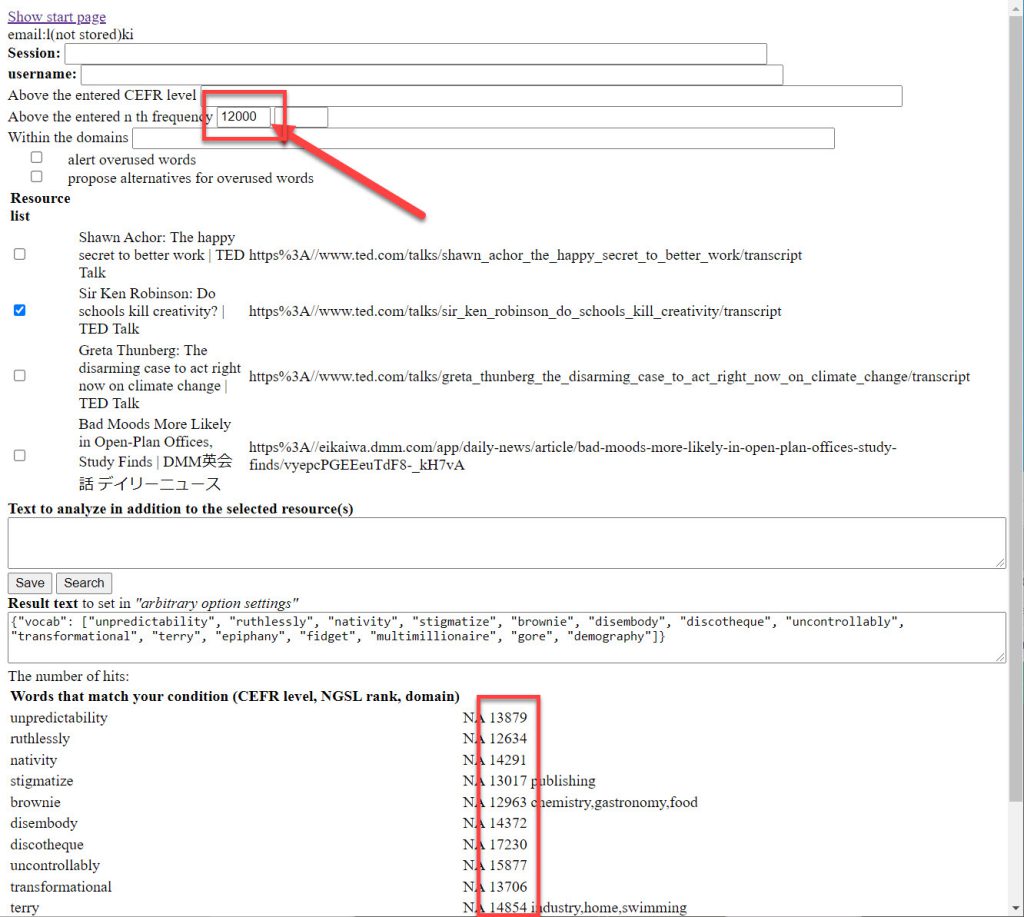
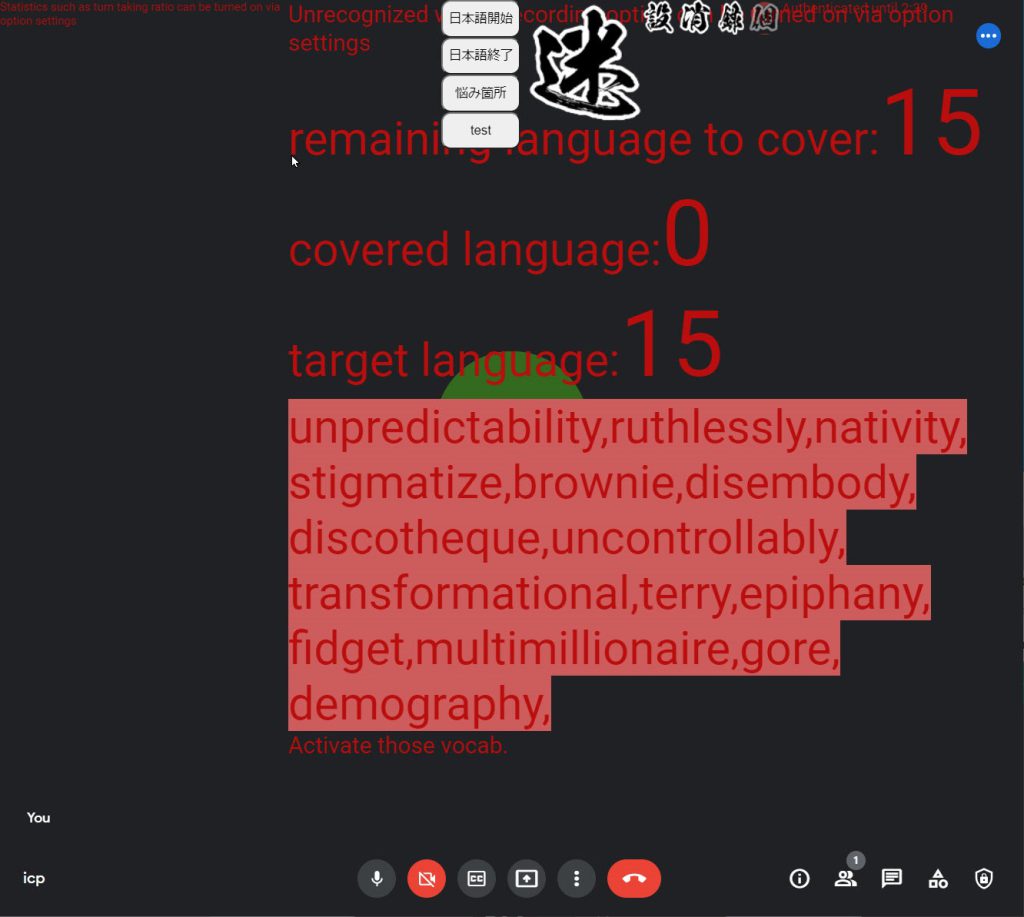
Click "to personalize session" and configure session.
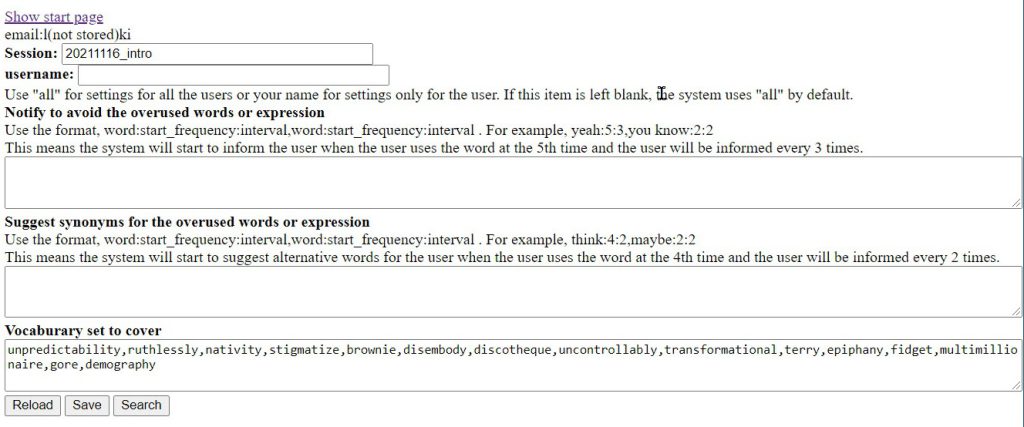
Click "to start browser-based session"


Authenticate yourself in the "browser-based session" regardless of your login status.
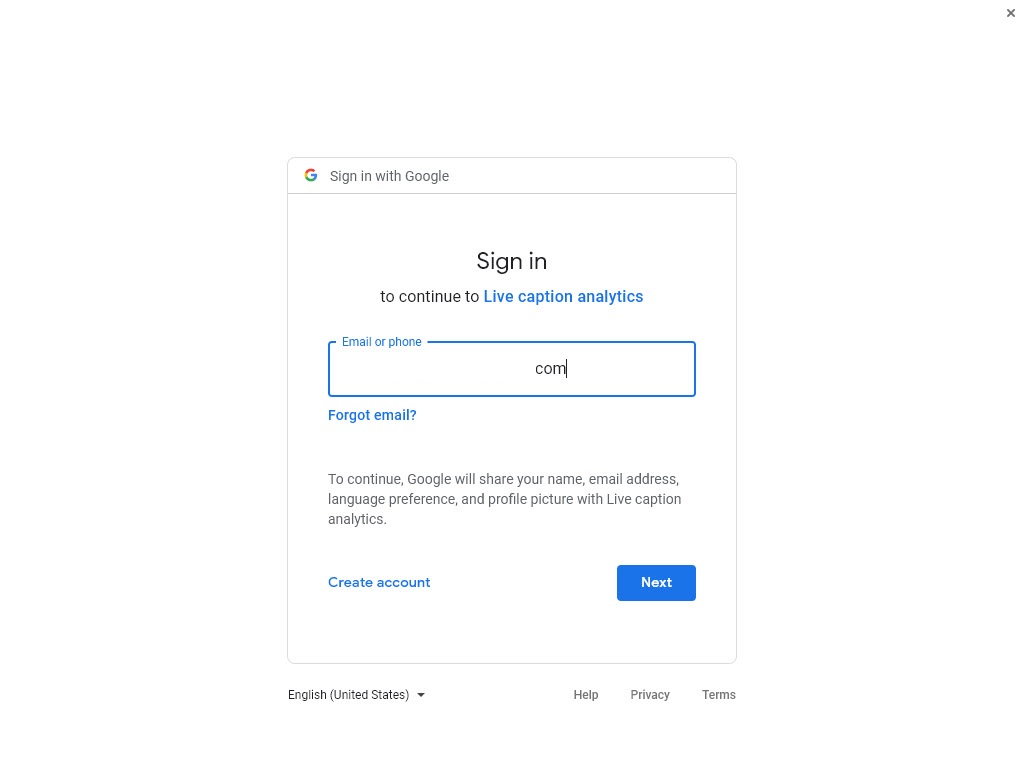
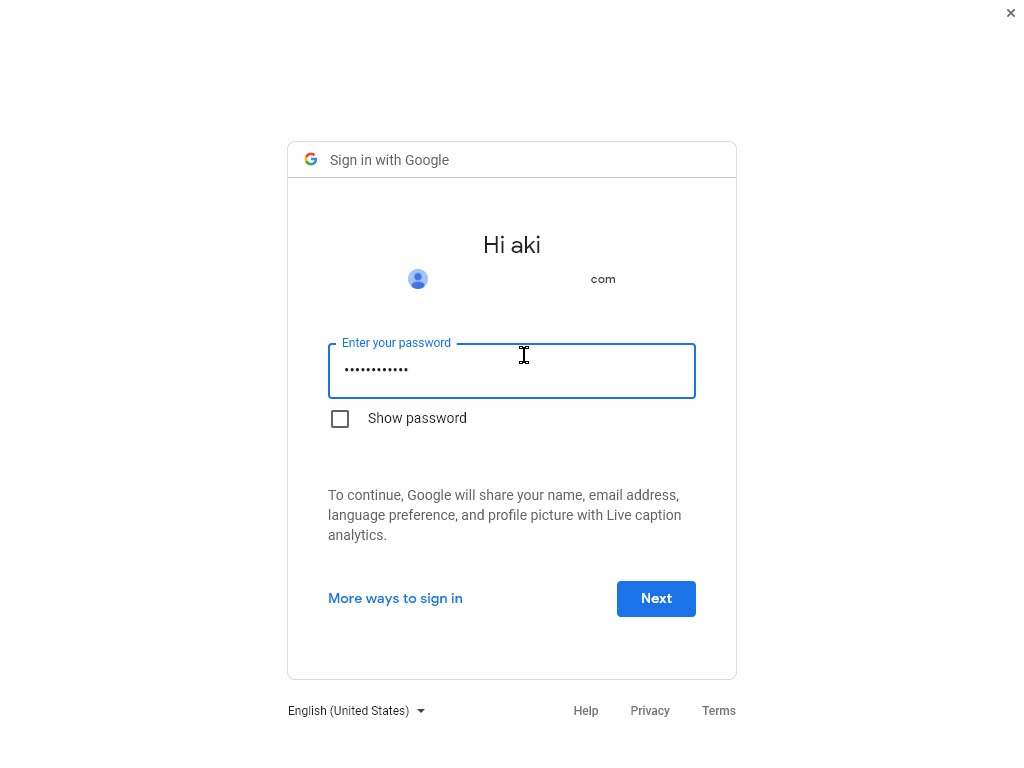
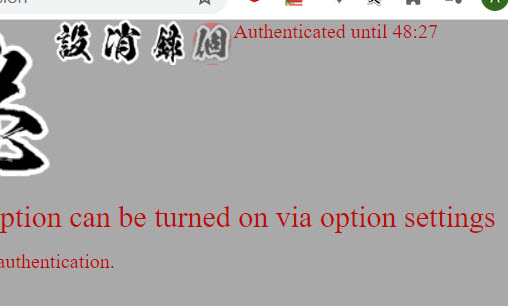
Just as in Google Meet, you can configure the behavior (and the settings will be saved and become effective when you open the configuration in Google Meet)
When you press "録" to start recording, browser built-in speech recognition will capture the immediate utterance and show it in white, and the frozen utterance in red lines.

"Download caption" will download captured caption lines.

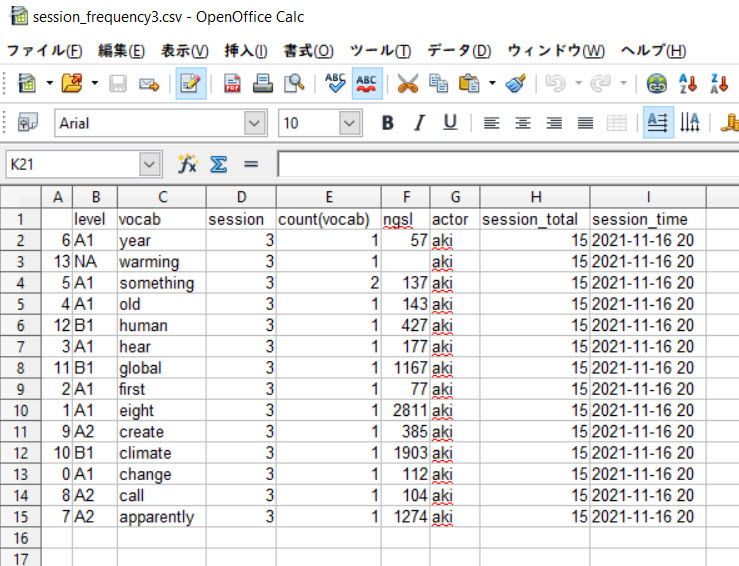
"Download vocab" will download analyzed word use.
